17.0 Introduction
Live streaming 구현하려면
엄청난 데이터를 처리해야 해서 강력한 서버가 필요하다.
인코딩, format변경(mp4) 해야 함.
데이터 집약적, 컴퓨팅 집약적임.
역시 우린 서버리스이기 때문에 서버가 없다.
OBS 라이브방송 - 리얼 스트리머들많이 사용함.
or
LiveNow 앱
라이브에서는 RTMP (Real-time message protocol) 사용함.
17.1 Streaming From Dashboard
모든 스트리밍을 하면
URL과 key를 줄텐데 이거 가져가면 키드내핑 당함.
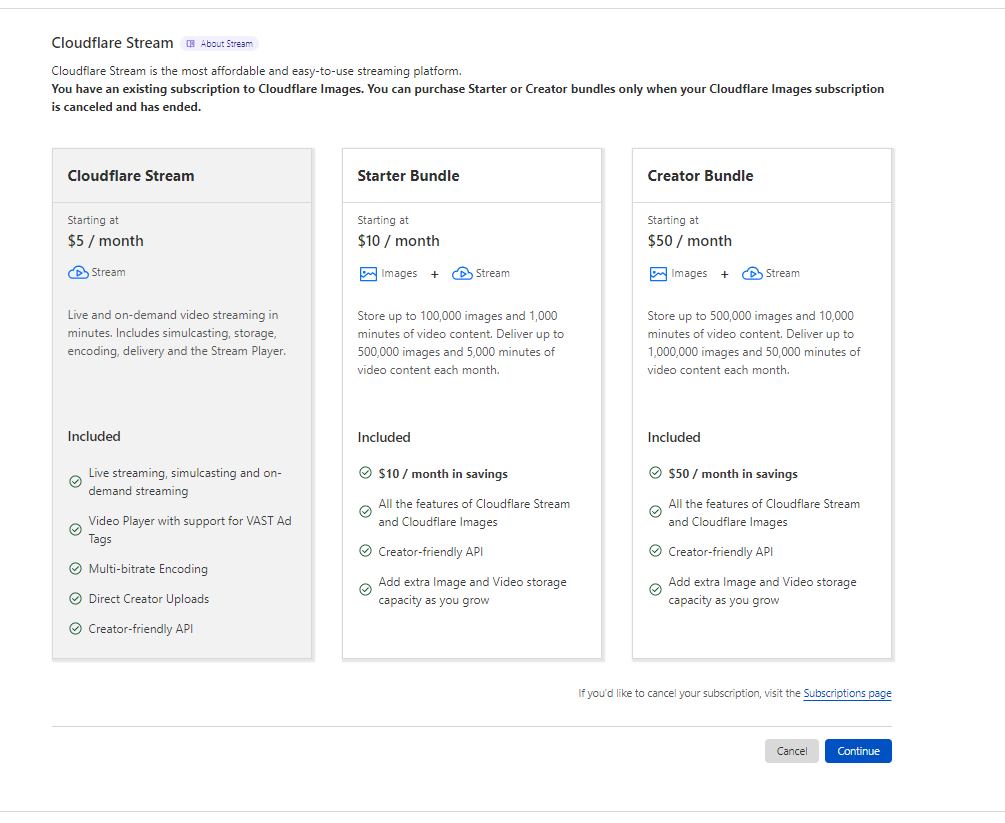
일단 클라우드플레어 같은데서 결제하고 라이브 스트리밍을 해.
그리고 앞서 말한 OBS라이브방송이나 LiveNow같은 앱에 url과 key를 입력하면
OBS에서 보이는게 (https://obsproject.com/) cloudFlare에 올라가게 됨.

30초 가량 딜레이가 있다.
17.2 Streaming API
이제 API 사용서 해보자.
https://developers.cloudflare.com/stream/stream-live/start-stream-live/
Start a live stream · Cloudflare Stream docs
You can start a live stream using the Stream dashboard or the API. After you subscribe to Stream, you can create Live Inputs and begin sending your live video …
developers.cloudflare.com
돈내야해서 안하기로 함.
코드는 작성함.
 const {
  result: {
    uid,
    rtmps: { streamKey, url },
  },
} = await (
  await fetch(
    // https://developers.cloudflare.com/stream/stream-live/start-stream-live/
    `https://api.cloudflare.com/client/v4/accounts/${process.env.CF_ID}/stream/live_inputs`,
    {
      method: "POST",
      headers: {
        Authorization: `Bearer ${process.env.CF_STREAM_TOKEN}`,
      },
      body: `{"meta": {"name":${name}},"recording": { "mode": "automatic", "timeoudSeconds":10 }}`,
    }
  )
).json();
cloudflareId: uid, //비디오 보기 위함
cloudflareKey: streamKey, // 방송의 오너에게 줘야 함.
cloudflareUrl: url,// 방송의 오너에게 줘야 함.sugar댓글
Using the Stream player (스트림 플레이어 사용)
아래 iframe 태그를 사용하여 웹 페이지에 스트림 플레이어를 넣을 수 있습니다.
$VIDEOID에는 비디오 UID(또는 서명된 토큰)을 지정해줍니다.
```
< iframe
src="https://iframe.videodelivery.net/$VIDEOID"
style="border: none"
height="720"
width="1280"
allow="accelerometer; gyroscope; autoplay; encrypted-media; picture-in-picture;"
allowfullscreen="true"
>< /iframe>
```
https://developers.cloudflare.com/stream/viewing-videos/using-the-stream-player/
@cloudflare/stream-react
Cloudflare Stream용 공식 React 컴포넌트
https://www.npmjs.com/package/@cloudflare/stream-react
Displaying thumbnails (썸네일 표시)
방법 1) 즉석에서 썸네일 생성
https://videodelivery.net/${VIDEO_ID}/thumbnails/thumbnail.jpg?time=68s&height=270
방법 2) API를 사용하여 기본 썸네일 타임스탬프 설정
방법 3) 애니메이션 썸네일 생성
https://developers.cloudflare.com/stream/viewing-videos/displaying-thumbnails/스트리머는 아래 사진의 주황색 부분이 보일텐데 URL,Key 갖고 하면 된다.
OBS나 LiveNow에 해당 정보 넣으면 됨.

https://developers.cloudflare.com/stream/stream-live/watch-live-stream/#view-by-live-input-uid
By sugar 댓글

View by live input uid
/lifecycle 엔드포인트에 GET 요청을 보내 비디오 ID 또는 라이브 입력 uid에 대한 추가 데이터를 가져올 수 있습니다.
https://developers.cloudflare.com/stream/stream-live/watch-live-stream/#view-by-live-input-uid

Live viewer counts for third party players (실시간 시청자 수 보기)
스트림 플레이어는 기본적으로 실시간 시청자 수를 완벽하게 지원합니다. third party player와 함께 사용할 라이브 비디오의 시청자 수를 얻으려면 /views 엔드포인트에 GET 요청을 하십시오.
```
// request
https://videodelivery.net/55b9b5ce48c3968c6b514c458959d6a/views

// response
{"liveViewers": 113}
```
https://developers.cloudflare.com/stream/getting-analytics/live-viewer-count/

View by video id (녹화된 비디오 정보 가져오기)
https://developers.cloudflare.com/stream/stream-live/watch-live-stream/#view-by-video-id

Replaying recordings
https://developers.cloudflare.com/stream/stream-live/watch-live-stream/#replaying-recordings
18 Code Challenge
이제 구현은 다 끝났고 nextjs 배워보자.
그 전에,
1. 판매자와 대화하기(Talk to seller),
2. 예약중 기능, 예약날자 지나면 리뷰남겨달라는 버튼을 생성해주자.?실제 당근처럼 하면 되겠지.
인런거 연습하면 매우 좋을듯.
꼭 해야 할듯.
'클론코딩-캐럿마켓 > 전반' 카테고리의 다른 글
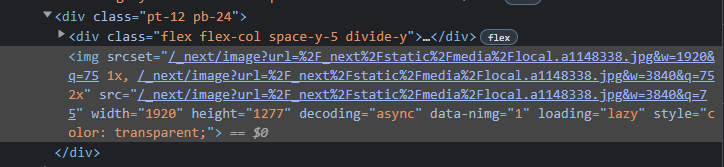
| 16 NEXTJS IMAGES (0) | 2023.01.12 |
|---|---|
| 15 CLOUDFLARE IMAGES - 사진 다루기 (0) | 2023.01.11 |
| 14 Streams - seeding (0) | 2023.01.11 |
| 13 Profile (0) | 2023.01.09 |
| 12 동네생활 (0) | 2023.01.06 |